

Today we're showing three pieces of artwork from our February 2027 series books! Let us know in the comments which books you'd like to see featured in our February 2027 Artwork Reveal!
CBT 88 Desert Rat vs Afrikakorps Soldier: Operation Crusader 1941
By David Greentree
Illustrated by Steve Noon
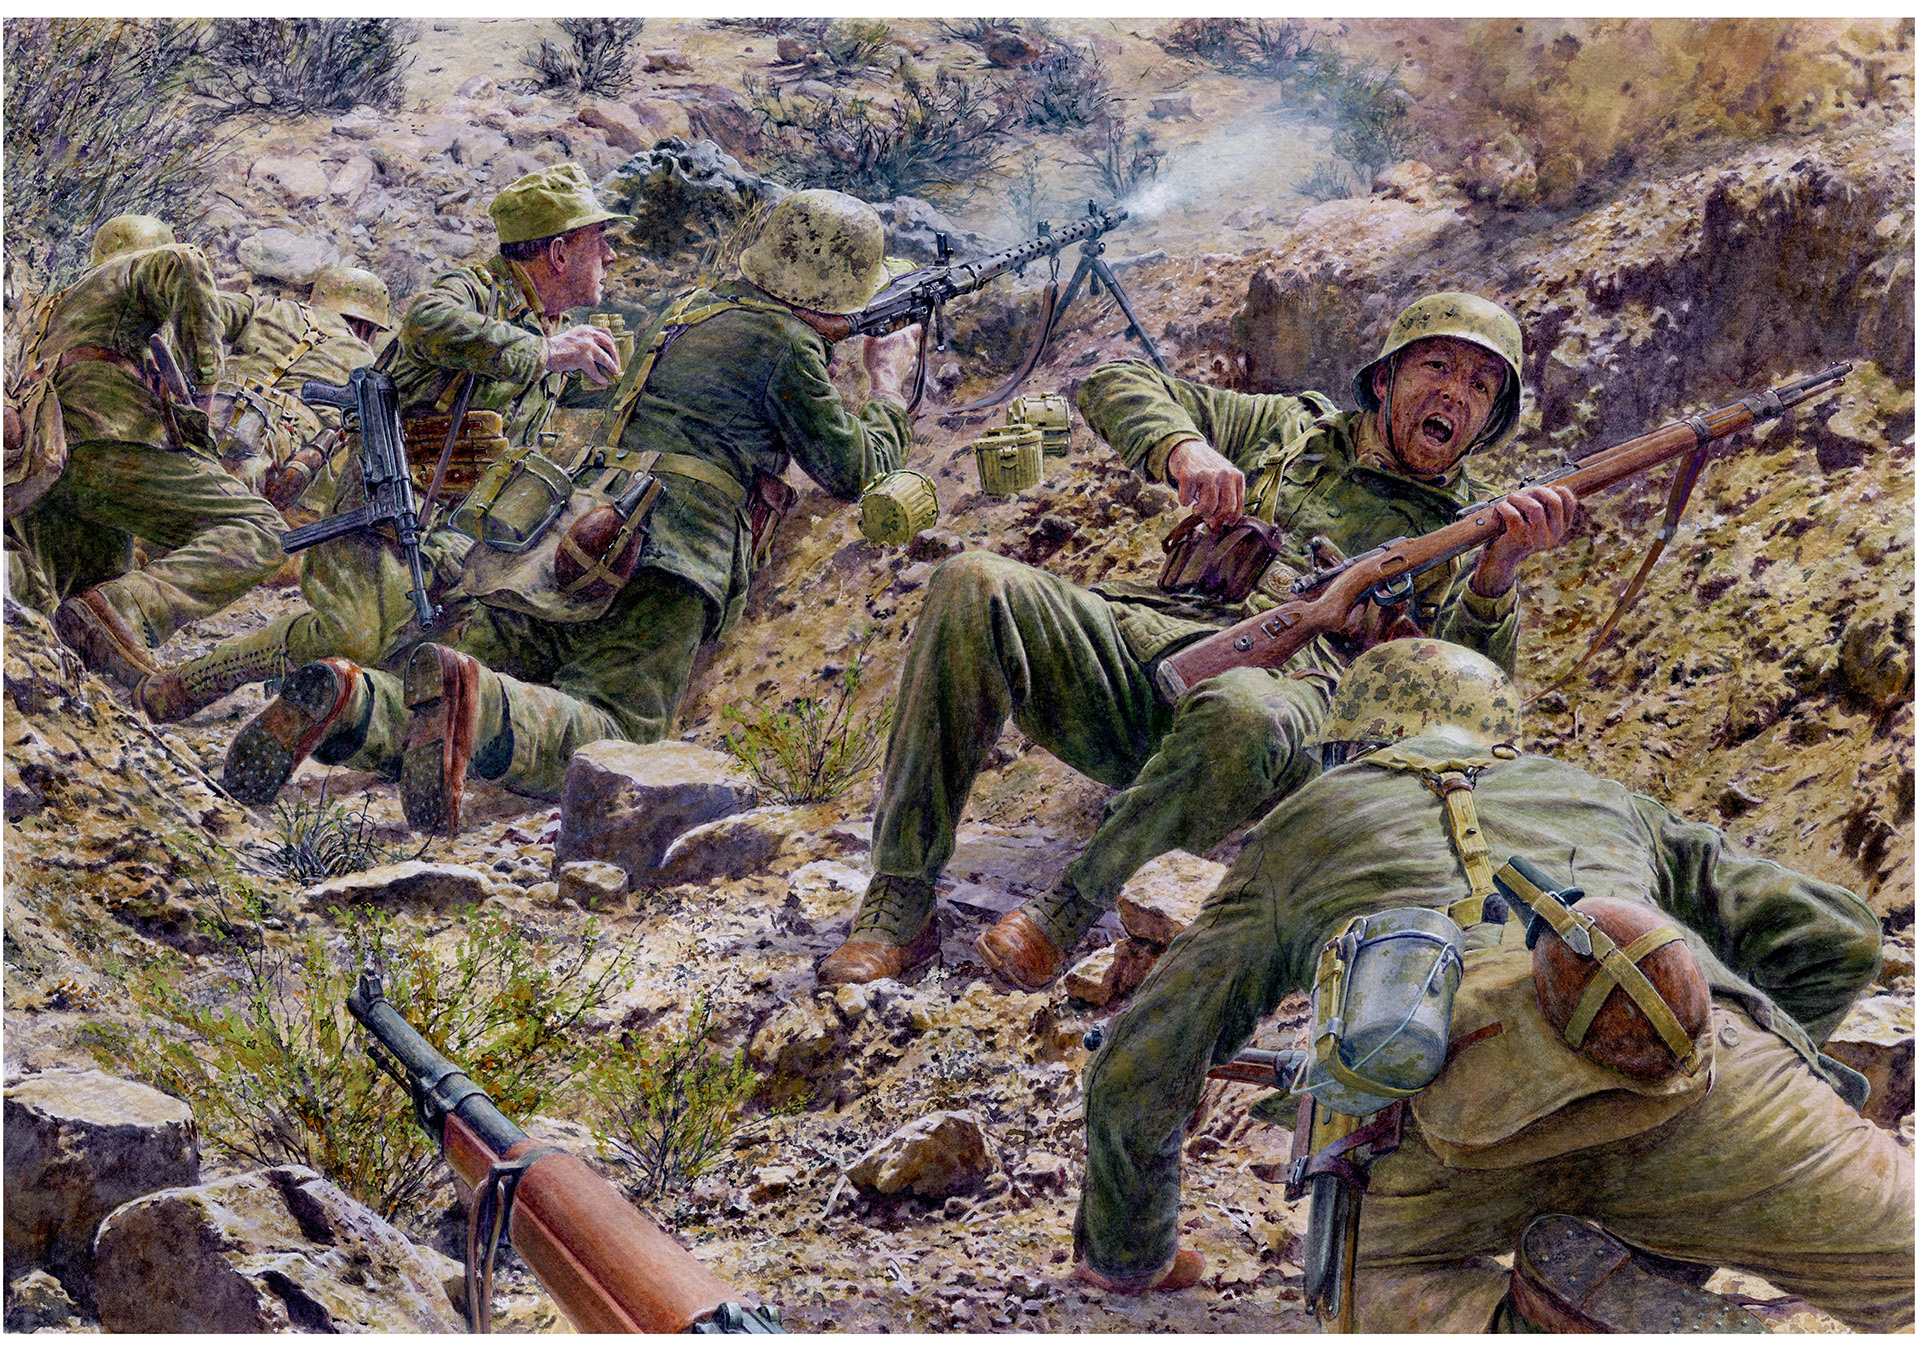
Sidi Rezegh, 22 November 1941
This Oberfeldwebel is leading a rifle section up onto the Sidi Rezegh escarpment, during the early afternoon of 22 November, through a gully on the northern slope. He wears high lace-up boots, designed to protect the wearer from camelthorn bushes, and is equipped with an MP 40 and is pointing out targets for an MG 34 gunner. Other German infantry armed with rifles take cover from a British Bren gunner on the height. The escarpment is now only lightly defended as most British riflemen, with few anti-tank guns to repel German Panzers sweeping in from the west, have withdrawn through gullies on the southern slope.
Art requested by Mark L.
MAA 573 Ancient Jewish Armies 1200–586 BC
By Raffaele D’Amato and Giorgio Albertini
Illustrated by Giorgio Albertini
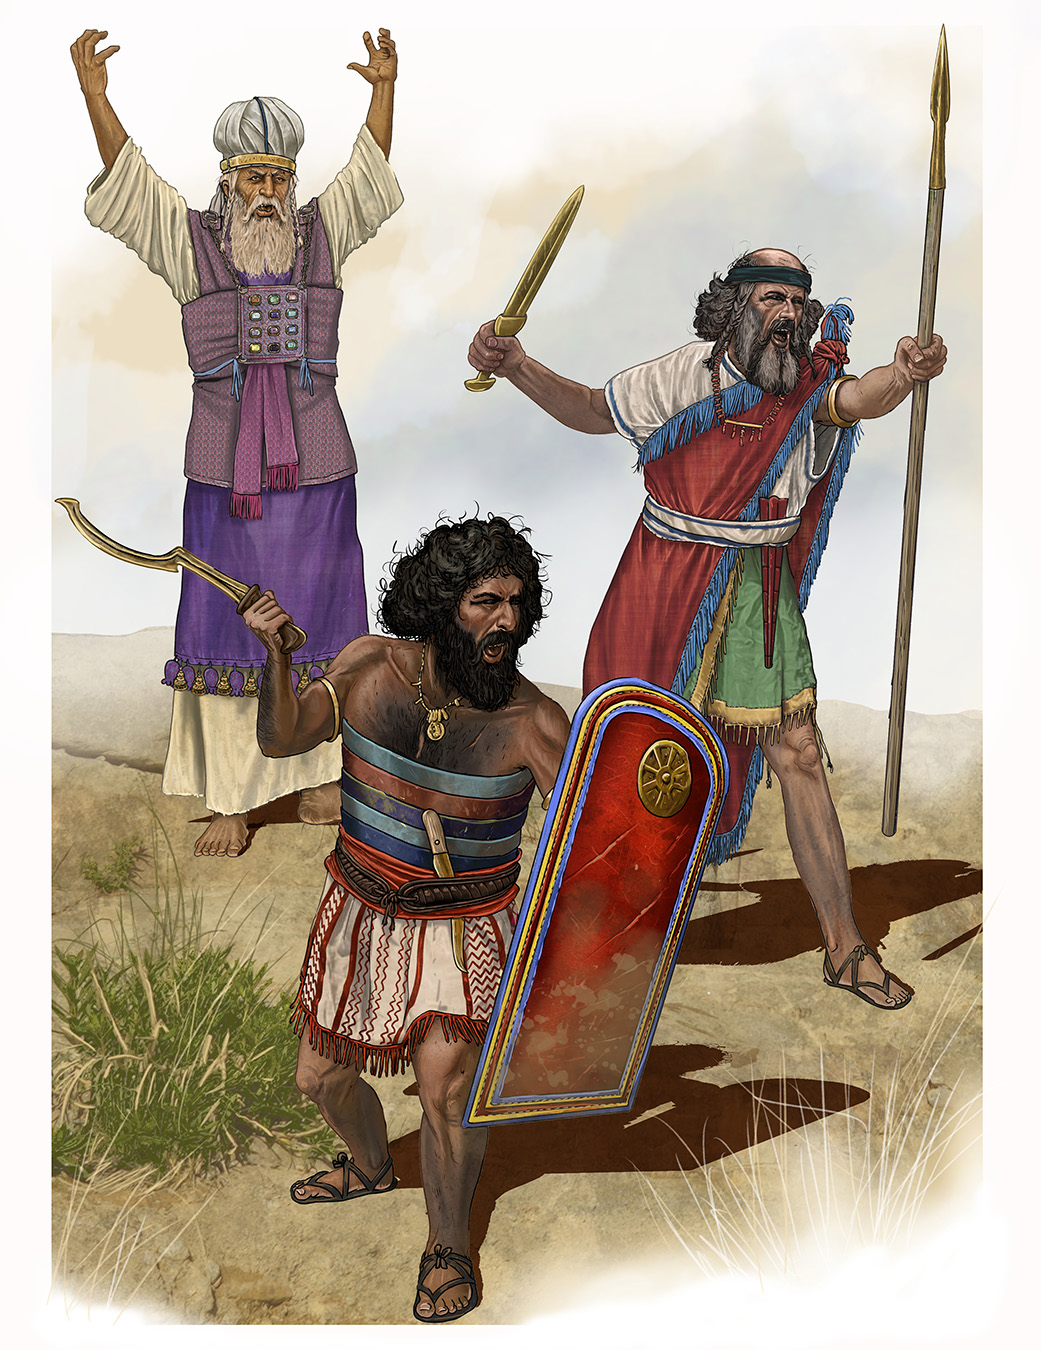
JOSHUA CONQUERS HAZOR
1: High Priest
2: Elite Judean warrior
3: Jewish warlord
ELI 267 Machine-Gun Tactics on the Western Front 1914–18
By Greg O'Reilly
Illustrated by Adam Hook
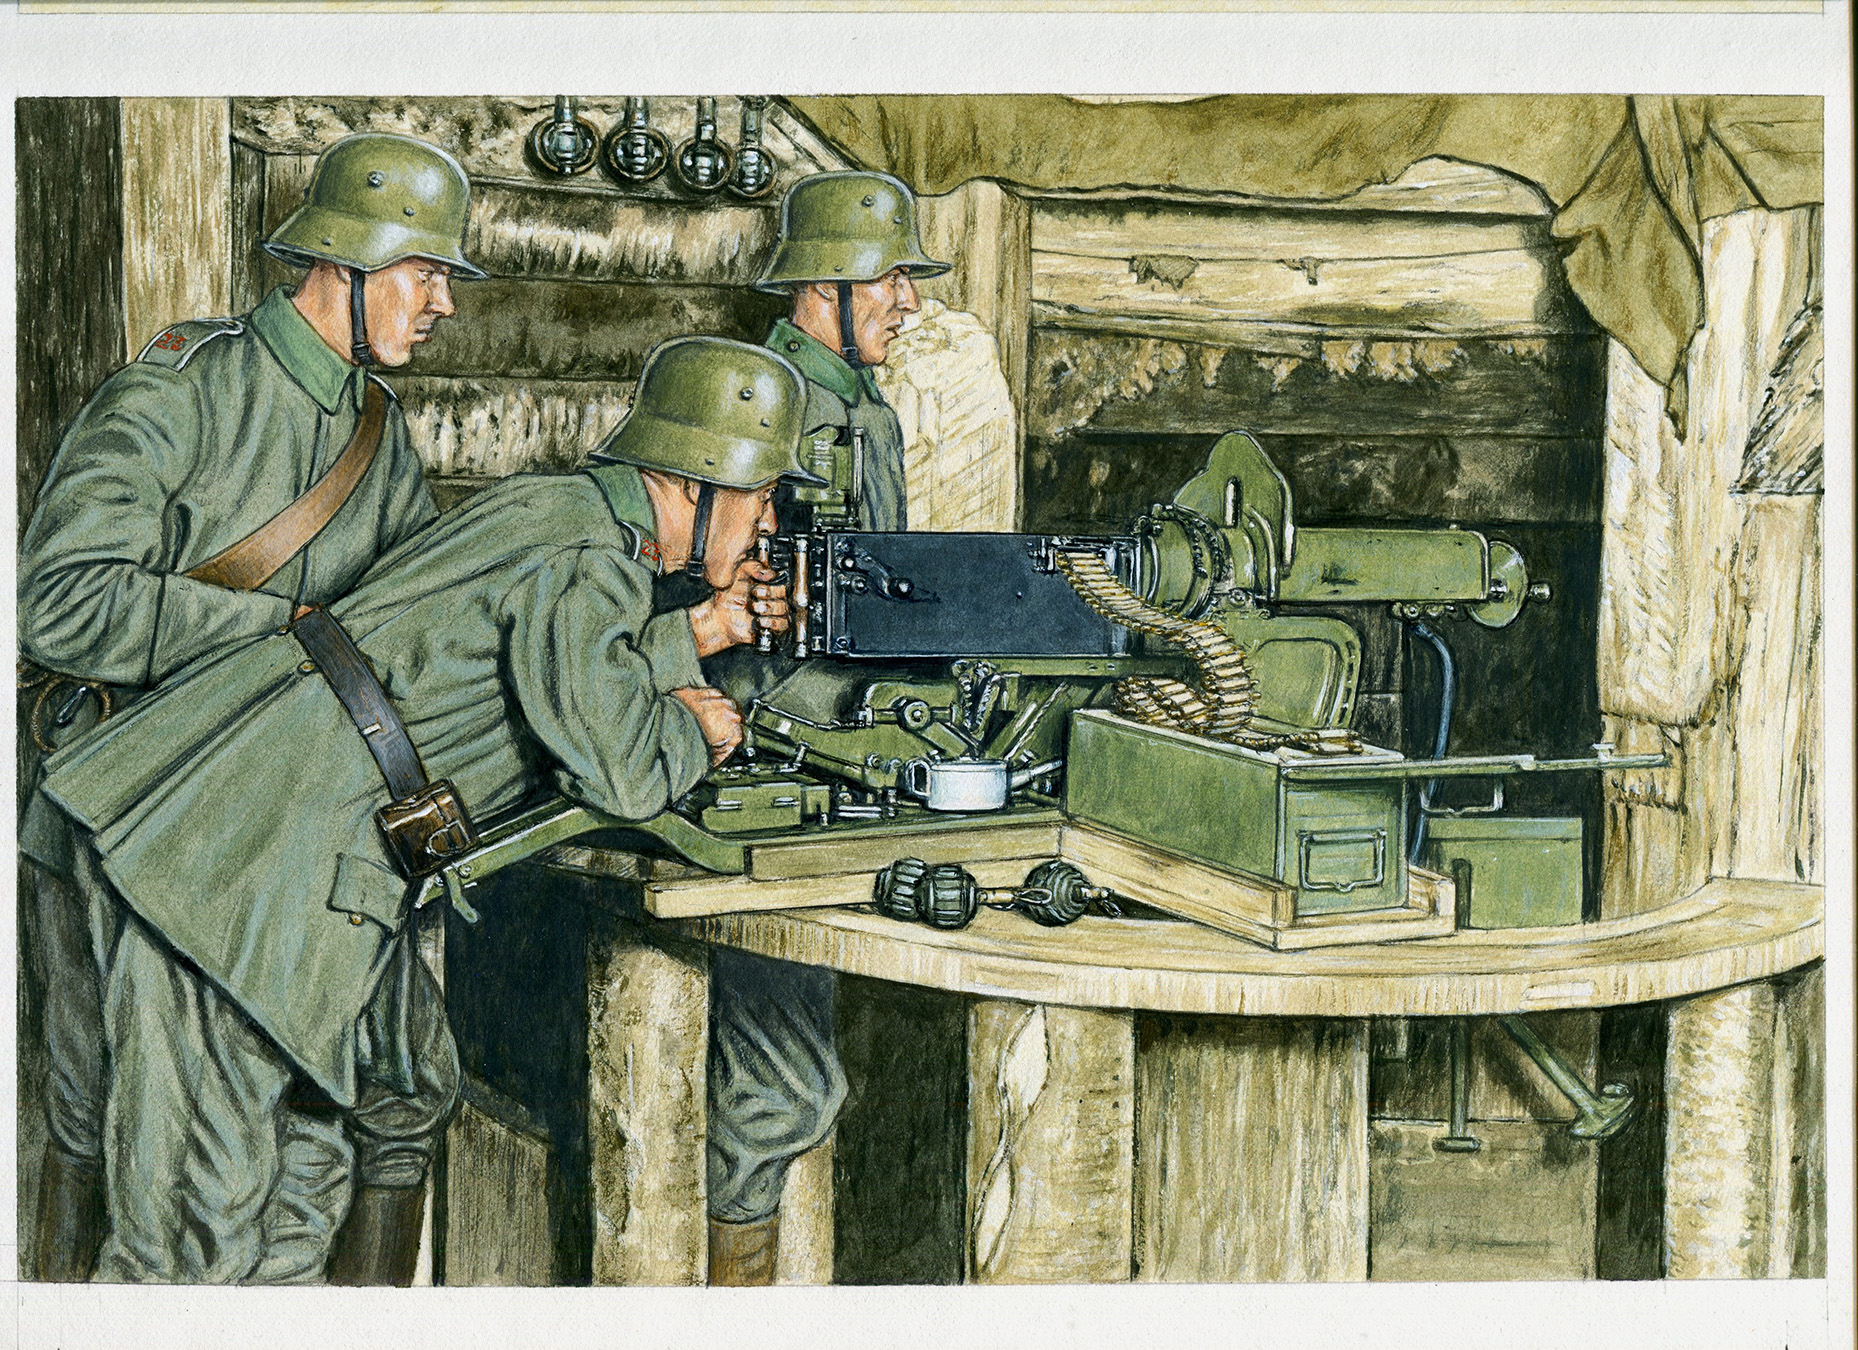
BRITISH AND GERMAN MACHINE-GUN POSITIONS, 1917
By 1917, the British and Germans had developed very different machine-gun tactics in both attack and defence. The two sides took distinctly different approaches, however, the Germans prioritizing protection while the British favoured anonymity in the battle-torn landscape. This may have been on purpose but was more likely a result of British dominance in artillery throughout the war.
When the Germans retreated to the Hindenburg Line, they took up concrete emplacements with thick frontal and overhead cover from which they could fire enfilade along the huge belts of barbed wire. Some sections were 80m (87.5yd) thick and 3–4m (10–13ft) high with machine guns covering the narrow sally ports; this too revealed the likely location of defensive machine guns, however. In contrast, the British favoured improvised positions that made their locations more difficult to discern.
No position better reflected the principle of anonymity on the battlefield than the machine-gun slit trench. First tried at Arras, the tactic was more widely used at Messines. On the II ANZAC Corps front, 146 of them were dug at night and camouflaged during the day without the Germans holding the high ground in front of the town even noticing. They were located well away from the trench system and very few shells landed in their vicinity during the attack.
In the relatively open fighting that followed the initial breakthrough of the Kaiserschlacht (‘Kaiser’s Battle’; the German spring offensive of 1918), shell holes again were in common use for machine-gun positions. Though strongpoints held most of the German machine guns, improvised positions were also frequently encountered by the attacking Entente forces during the Hundred Days Campaign in August–November 1918.
Comments
You must be logged in to comment on this post. Click here to log in.
Submit your comment