
Our 2027 Campaigns are ready to bring the action! With several new authors joining our seasoned favourites, we are excited to bring these new works to life. Packed with stunning artwork, 3D bird’s-eye-view diagrams, 2D maps and period images, these new titles are a great addition to our wonderful Campaign list.
Starting in the 800s, we have the first of Gareth Williams’ duo on Anglo-Saxon–Viking relations with Viking Invasions of England 865–80. Then we’re moving to the US with Mark Lardas’ Chesapeake 1781 and Gregory Fremont-Barnes brings us through the Napoleonic era with Copenhagen 1801. Pushing into World War I, we have the first of two volumes by Alexander Turner on Third Ypres 1917 (1), followed by Gaza 1917 by William E. Hiestand. Next, we have Nomonhan/Khalkhin Gol 1939 by John Valitutto, which leads us straight into World War II. Ryan K. Noppen begins our tour in West Africa with Dakar 1940. Robert Forczyk returns to the list with Nikopol 1943–44, while Robert Lyman moves us to Burma with Operation Longcloth 1943. Ian G. Mitchell takes us to North Africa with Tunis 1943 and Steven J. Zaloga brings us back to Europe with Ruhr Pocket 1945. Finally, we move into the Vietnam War era with An Loc 1972 by James H. Willbanks.
Alongside all our fabulous authors, we’ve also got our most talented artists returning – plus some new artists for the list! We will be featuring artwork from Adam Tooby, Angel García Pinto, Johnny Shumate, Graham Turner, Marco Capparoni, Mark Li, Giuseppe Rava, Marc Lee, Miłosz Wojtasik and Edouard A. Groult. Hopefully, there’s a little something for everyone and you’ll be just as excited for the new Campaigns as we are.
CAM 440 Dakar 1940: Operation Menace and the Allied Disaster in West Africa
By Ryan K. Noppen
Illustrated by Adam Tooby
21/01/2027
A detailed analysis of the Allied failure in Dakar against Vichy France in September 1940.
In the midst of the full onslaught of the Blitz, Winston Churchill was desperate to take the fight to the enemy and so he set his eyes on the French West African port of Dakar. Emboldened by the recent defection of some of the Vichy colonies to the Free French movement, Churchill asked Charles de Gaulle if he could rally Dakar, and the potent naval force there, to their cause. It was readily agreed and a hastily assembled British and Free French amphibious force was sent to Dakar to bring it back into the Allied sphere.
Operation Menace began on 23 September 1940, but the campaign unfolded almost completely contrary to Churchill and de Gaulle's expectations. The local Vichy authorities and troops under their command were a determined and effective resistance – and the battered Allied task force was withdrawn after three days, without landing a single troop on Dakar's shores.
With detailed maps, period images and colourful artwork, historian Ryan K. Noppen analyses the trying circumstances from which Operation Menace was born, including how the impulsive and overly optimistic attitudes of Churchill and de Gaulle overlooked clear warning signs, and examines how this failure would help prepare the Allies for success later in the war. This book also explores the naval and air battles around Dakar as well as Vichy France's retaliatory attacks on Gibraltar in the wake of Operation Menace.
CAM 441 Operation Longcloth 1943: The First Chindit Campaign
By Robert Lyman
Illustrated by Angel García Pinto
18/03/2027
A fascinating look at the campaign that launched the Chindit myth and saw Orde Wingate's long range patrol group wreak havoc across the Japanese lines.
Arriving in Burma in 1942 to survey the environment and finalise his development of long range penetration units, Major General Orde Wingate set up the training and deployment of the Chindits. Under Operation Longcloth, the Chindits crossed the Chindwin into Burma in February 1943. The 3,000-man patrol undertook considerable feats of physical endurance, attacked enemy positions, sabotaged lines of communications and made themselves a nuisance to the Japanese. The survivors returned in May 1943, bringing to an end the first Chindit campaign.
With detailed maps, stunning artwork and period images, this book looks at the origins and training of Wingate's long range penetration units and how Operation Longcloth became the basis of the Chindit legend. Written by expert historian Robert Lyman, the work explores how Wingate and the Chindits were heavily publicized even though the operation was a failure and their effectiveness was controversial.
CAM 442 Tunis 1943: Operation Vulcan and the First Army's Final Offensive
By Ian G. Mitchell
Illustrated by Johnny Shumate
18/03/2027
In a series of bitter but often forgotten battles fought in the hills and plains west of Tunis, the British First Army began its final offensive to destroy the 5th Panzer Army.
The road to Tunis had been a long and difficult one for the Allies. British General Kenneth Anderson had pushed his men to capture the city before Axis forces could arrive. After several difficult battles, the First Army had been sufficiently reinforced by April 1943, and it was time to launch the final series of operations to destroy the Italian and German factions left in Tunisia, which would ultimately result in 250,000 Axis soldiers surrendering.
Historian Ian G. Mitchell explores the fierce fighting in North Africa, delving into Anderson's movements and General Hans-Jürgen von Arnim's plans for the Germans, as well as the US's involvement. With detailed maps, period images and stunning artwork, this book covers the actions at Banana Ridge, the Basin, Longstop Hill, Gueriat el Atach, Jebel Bou Aoukaz and Cactus Farm. While the fighting outside Tunis has been overlooked, it proved an action of great bravery, with four Victoria Crosses being awarded.
CAM 234 Nomonhan/Khalkhin Gol 1939: Zhukov’s Victory in the Soviet–Japanese Border War
By John Valitutto
Illustrated by Johnny Shumate
29/04/2027
A fascinating illustrated study of an often overlooked conflict in military history in which Soviet forces proved themselves adept at modern air and land warfare.
In the 1930s, the Soviet Union found itself caught in the middle between Germany and Japan. Stalin's focus was on the rising Nazi tide, but he worried about the Japanese and their overt aggression in Asia. Their presence in Manchuria posed a threat on his eastern flank. In May 1939, the 129-day border war – known as Khalkhin Gol to the Soviets and Nomonhan to the Japanese – broke out. Minor cross-border raids escalated into full-scale clashes between the Soviet, Mongolian and Japanese armies. When Hitler invaded Poland, an opportunity arose for both sides to disengage, and on 15 September 1939, the war came to a close. The border war would lead to an uneasy peace between the two nations until the dying days of World War II.
This superbly illustrated work analyses this critical engagement on the eve of World War II. It documents the first major air offensive undertaken by Soviet forces, which, in combination with ground units, was to prove devastatingly effective. It also examines how the Japanese defeat led to a re-evaluation of their strategic plans and a shift in focus to the Pacific. The photographs, maps and battlescene artworks bring to life the infantry, armour and aircraft of the opposing sides, as well as the terrain along the Mongolia–Manchukuo border where this conflict was fought.
CAM 443 Ruhr Pocket 1945: Capitulation of the German Army
By Steven J. Zaloga
Illustrated by Graham Turner
27/05/2027
This detailed book explores the final, climactic battle against Germany in the Ruhr industrial zone.
The Ruhr had long been an Allied objective due to its heavy concentration of German war industries. The military significance of the Ruhr became overwhelming in the spring of 1945 when Hitler ordered "Festung Ruhr" (the Ruhr Fortress) to be held to the last man with no hope of retreat. From the Wehrmacht's perspective, this was suicidal, as the largest remaining element of the German Army, Heeresgruppe B, was deployed in the Ruhr. At this stage of the war, however, the Wehrmacht no longer had any real options. Its military industries were on the verge of collapse and it was running low on fuel, ammunition and equipment.
The Allied offensives in March isolated Heeresgruppe B from other units. German commander Walter Model ordered a counterattack to blunt the American encirclement. However, by April 1, the US had the pocket surrounded. The US First and Ninth Armies led the operation, leading to the collapse of the pocket. Some 317,000 German troops surrendered in the Ruhr. With detailed maps and diagrams, stunning artwork and period images, historian Steven J. Zaloga takes a look at the destruction of Heeresgruppe B and the Ruhr Pocket, which marked an end to large-scale German operations and ultimately led to the capitulation of the army.
CAM 444 Viking Invasion of England 865–80: Conquest of Northumbria, Mercia and East Anglia
By Gareth Williams
Illustrated by Marco Capparoni
24/06/2027
A highly illustrated look at the Viking Great Army of the late 9th century and its efforts to conquer England and defeat the Anglo-Saxons.
In the late 800s, the Vikings arrived in England, making the transition from short-term raiding to conquest and settlement. The 'Great Army' was a composite of multiple leaders, operating in a series of flexible but unstable alliances. They campaigned for years at a time, over-wintering in bases in hostile territory, which enabled them to dominate the surrounding areas. As they continued to expand their sphere of influence, they managed to conquer two major kingdoms and part of a third. The successful defence of a fourth kingdom, Wessex, by Alfred the Great created the platform of Alfred's successors to expand their authority over the rest of England.
Expert historian Gareth Williams explores these battles between the Vikings and Anglo-Saxons. This book reassesses the established historical sources in light of recent archaeological discoveries around England. It explores the successful campaigns of the Vikings and how the Anglo-Saxons learned to counter their strategies. With detailed artwork, maps and diagrams, this book provides new insights into a military campaign that ultimately led to the foundation of England.
CAM 445 Third Ypres 1917 (1): The Initial Push for Passchendaele
By Alexander Turner
Illustrated by Graham Turner
22/07/2027
A highly illustrated study of Britain's first attempts to breakout of the Ypres salient in the summer of 1917.
Opening with the stunning preliminary capture of Messines Ridge, the British Expeditionary Force (BEF) planned to breach the Ypres salient on a broad front. Their objective was Passchendaele Ridge, 5 miles away. Exploitation from there would compel a German withdrawal from Ostend, enabling a link-up with a proposed amphibious operation to deny U-boat bases. The second strategic imperative was to keep German forces occupied while France recovered from the mutinous outcome of its failed 'Nivelle offensive'. General Gough of Fifth Army was in charge of the offensive and he made initial gains on 31 July, but was soon behind schedule.
Covering July through August 1917, this book explores the first half of the campaign, including Pilckem Ridge; Second Army attacks to fix German forces on Fifth Army's right flank; French I Corps operations; and German initial counterattacks. The subsequent attacks at Westhoek and Langemarck are also covered. With detailed maps, period images, and powerful artwork, this first of two books by expert author Alexander Turner looks at how the scheme faltered, cueing an autumn of brutal fighting at Passchendaele.
CAM 446 Gaza 1917: Allenby and the Battle for Jerusalem
By William E. Hiestand
Illustrated by Mark Li
19/08/2027
A highly illustrated look at the battles for Gaza in 1917, which were some of the most significant in the Middle Eastern theatre.
In 1917, Britain and France faced a series of defeats, ranging from costly failed offensives on the Western Front to the collapse of its Russian ally. In the Middle East, the Egyptian Expeditionary Force (EEF), with British, Australian, New Zealander and Indian units, had driven across the Sinai but, in attacks in March and April, had failed to dislodge Ottoman forces from their trenches around Gaza. Searching for a victory to maintain morale, Prime Minister David Lloyd-George sent Sir Edmund Allenby to take command and ordered him to capture Jerusalem by December as ‘a Christmas present for the British people’.
Expert author William E. Hiestand delves into Allenby's innovative plan to envelop the Ottoman defensive line by taking the outpost of Beersheba. With a crucial role played by the Australian 4th Light Horse Brigade, the town and its critical water wells were captured. This book explores the variety of tactics used during the three battles for Gaza, including trenches, cavalry, joint air and naval power, and tanks and poison gas. The British succeeded in entering Jerusalem by December, putting an end to four centuries of Ottoman rule, and put into motion changes in the Middle East that continue to have ramifications to the present day.
CAM 447 Chesapeake 1781: The Naval Campaign that Decided Yorktown
By Mark Lardas
Illustrated by Giuseppe Rava
30/09/2027
An illustrated look at the most decisive battle of the American Revolution, in spite of an indecisive conclusion.
What had started in 1774 as a political faction fight had grown into a full war for independence by 1776, and Britain was trying to subdue the colonies with a force of arms. By 1781, the largest British field force in the US was Cornwallis's army in Yorktown. However, they needed supplies and to be reinforced if they were to continue. The British Royal Navy set forth to put into Chesapeake Bay – but the French got there first. They were also unloading supplies, weapons and men to support the rebels. The stand-off had begun.
With colorful artwork, detailed maps and period images, naval historian Mark Lardas shines a light on this battle between Britain and France in the waters of Chesapeake Bay. This battle would have a direct line to the outcome of Yorktown, where the British surrendered to Washington. Along with the ships, the men, and the plans of action, this book also explores what went wrong on this naval battle, on both sides, and shows that while the outcome seemed inevitable, small events could have drastically changed the results.
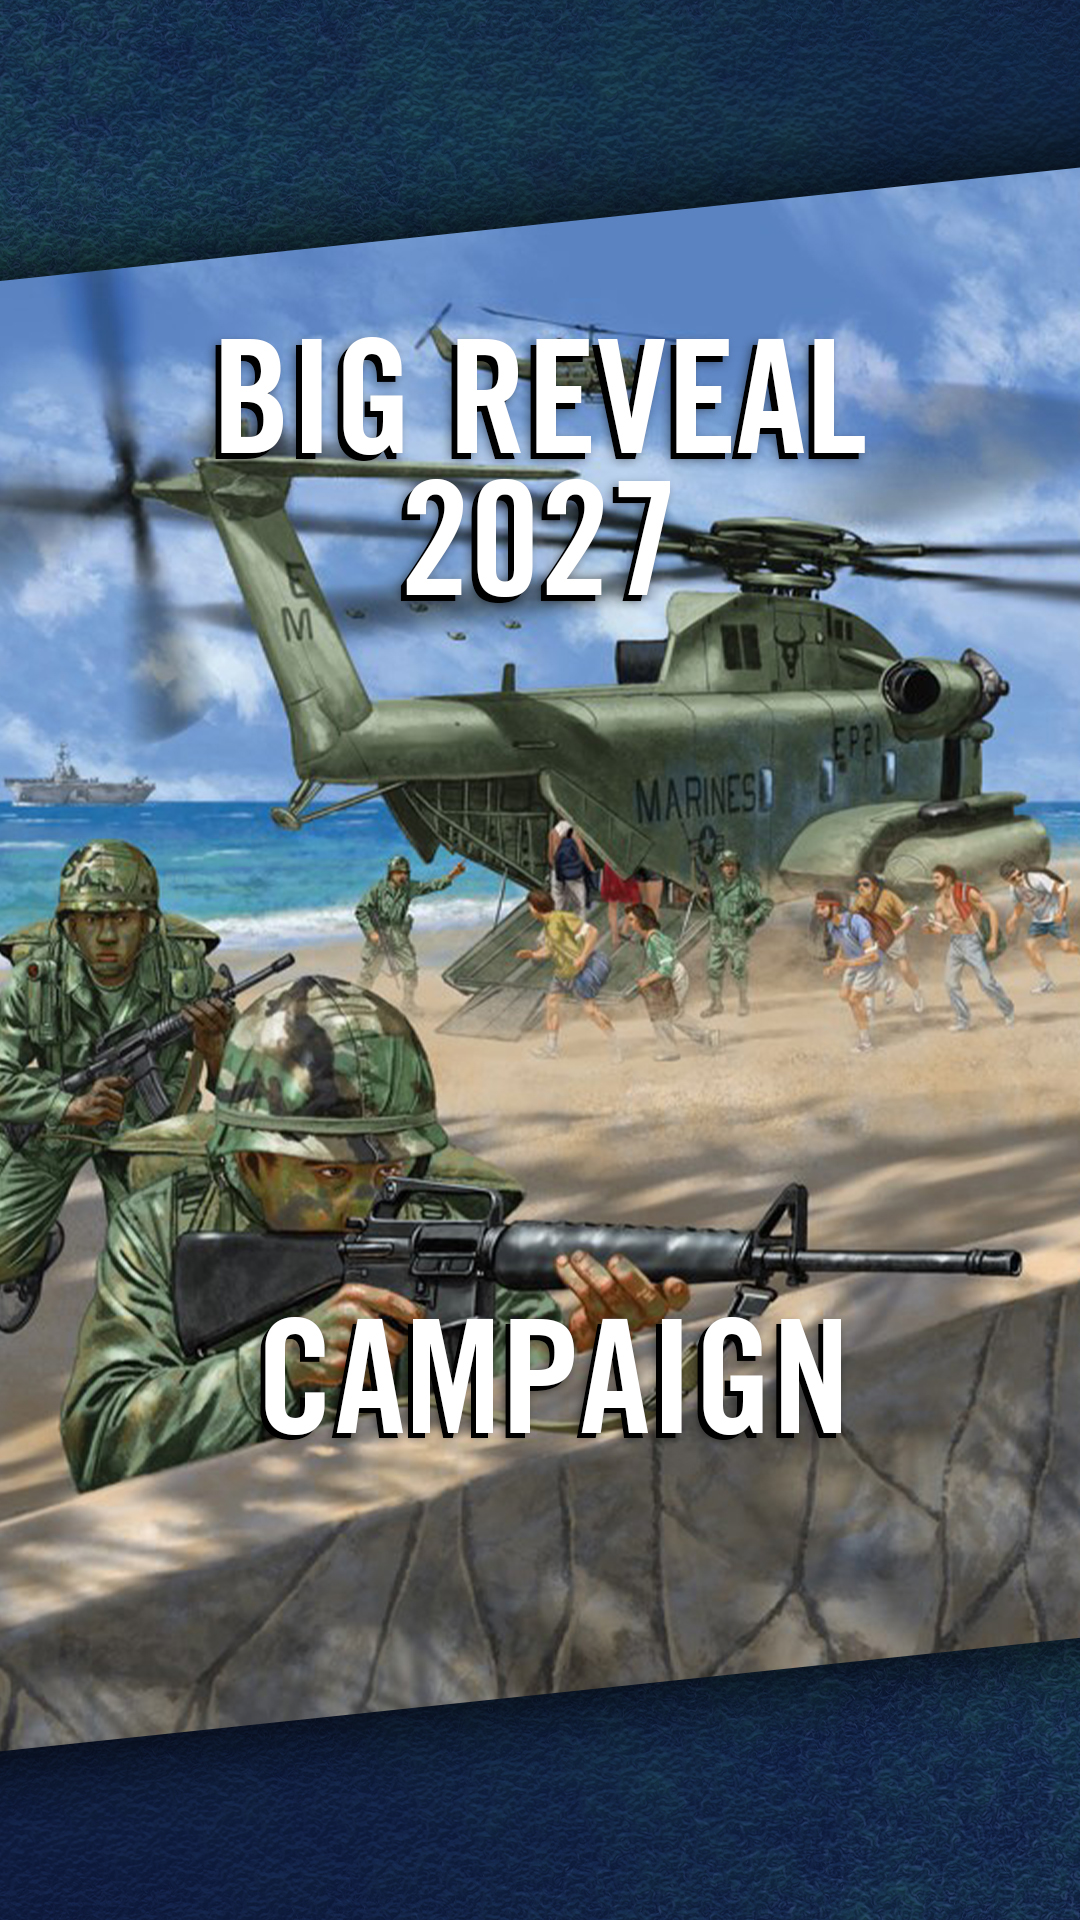
CAM 448 An Loc 1972: The Southern Prong of the Easter Offensive
By James H. Willbanks
Illustrated by Marc Lee
28/10/2027
One of the bloodiest battles of the Vietnam War, fought between North and South Vietnam after the withdrawal of most of the US troops.
In early April 1972, the North Vietnamese surrounded An Loc with three divisions and attacked on the 13th with infantry, tanks, heavy artillery and rockets, taking half the city after a day of close combat. The southernmost thrust of the three-pronged Easter Offensive, this was a massive invasion by North Vietnamese forces to strike a knockout blow that would win the war for the Communists. The North Vietnamese held the city under siege for three months, making repeated attempts to fully take the city. However, the South Vietnamese put up a strong defense, despite taking heavy casualties. Supported by US advisors and airpower, they held An Loc until the siege was lifted in June.
Vietnam veteran and historian James H. Willbanks, who was personally involved on the US side of this conflict, explores the bloody struggle for An Loc. The South Vietnamese success led President Nixon to declare his Vietnamization program viable, and continued to pull US troops out of the country. With color artwork, period images and maps, this book traces the North Vietnamese plan of attack and shows how the South Vietnamese managed to keep An Loc out of Communist hands.
CAM 449 Nikopol 1943–44: The Desperate Defence
By Robert Forczyk
Illustrated by Milosz Wojtasik
25/11/2027
In harsh winter conditions, German and Soviet troops clashed bitterly at the Nikopol bridgehead in a 5-month battle.
By mid-September 1943, the German Heeresgruppe A had been pushed back to the lower Dnepr region. The 6. Armee – rebuilt after the disaster at Stalingrad – was ordered by Hitler to hold the Nikopol bridgehead across the Dnepr, in order to prevent the loss of the vital manganese ore mines, which were vital to armaments production. In addition, the 6. Armee was tasked with holding the area around Melitopol, to maintain a line of communications to the Axis forces in the Crimea. On the Soviet side, the 4th Ukrainian Front was ordered to take Melitopol and Nikopol, isolate the Crimea and then cross the Dnepr RIver. Despite overwhelming Soviet advantages in manpower and materiel, the 6. Armee conducted a tenacious defence of the bridgehead for the next five months, repulsing one Soviet attack after another. Ultimately, it would take a coordinated effort of multiple Soviet armies to finally dislodge the German defenders.
In this book, with stunning artwork, maps, diagrams and period images, Eastern Front historian Robert Forczyk explores how the German 6. Armee managed to create an ad hoc defence under difficult conditions, which managed to stymie the Soviet advance and inflict enormous losses. The book covers the multiple Soviet offensives and German counterattacks that made the Nikopol bridgehead one of the most hard fought over sectors of the Eastern Front. Indeed, not only does the Nikopol campaign shed light on a heretofore obscure defensive operation, but it offers insight into the challenges facing modern military operations conducted over the same terrain in 2022–26. In the long run, the loss of manganese ore from the Nikopol region contributed to the enfeeblement of the Third Reich’s armaments industry in the final stages of World War II.
CAM 450 Copenhagen 1801: Nelson Smashes the Danish Fleet
By Gregory Fremont-Barnes
Illustrated by Edouard A Groult
23/12/2027
A highly illustrated look at the Royal Navy's destruction of Danish ships to avoid them allying with France.
In 1801, a group of Baltic powers hostile to British maritime interests triggered the dispatch of a naval force under Admiral Hyde Parker to demand the surrender or destruction of the Danish fleet anchored at Copenhagen. Parker's second-in-command, Admiral Horatio Nelson, conceived a daring plan involving negotiating his squadron around a substantial shoal and into a narrow channel opposite the main Danish positions. Nelson's vessels proceeded to engage, depending on superior gunnery and steadfastness to overwhelm the defenders' resistance. It proved a costly, but ultimately successful action.
Alongside stunning artwork and detailed maps, this book explores the various difficulties faced by the British both before and during the battle, as well as the Danes' stout resistance. Expert author Gregory Fremont-Barnes delves into Nelson's decision to ignore Parker's orders and the lengthy negotiations that followed this engagement. The book also covers the factors that led to British success and the decisive role played by naval technology.
Comments
You must be logged in to comment on this post. Click here to log in.
Submit your comment